We are looking for three different kinds of embryos/eggs.
Winners

Winners are normally developing embryos. You can clearly see the air cell on the right side of the egg. The embryo is toward the left (the biggish black blog). When we candled this particular egg, we could see clearly developed veins all around the shell and the embryo moved quite a bit. We're expecting this egg (#25) to hatch.
Quitters
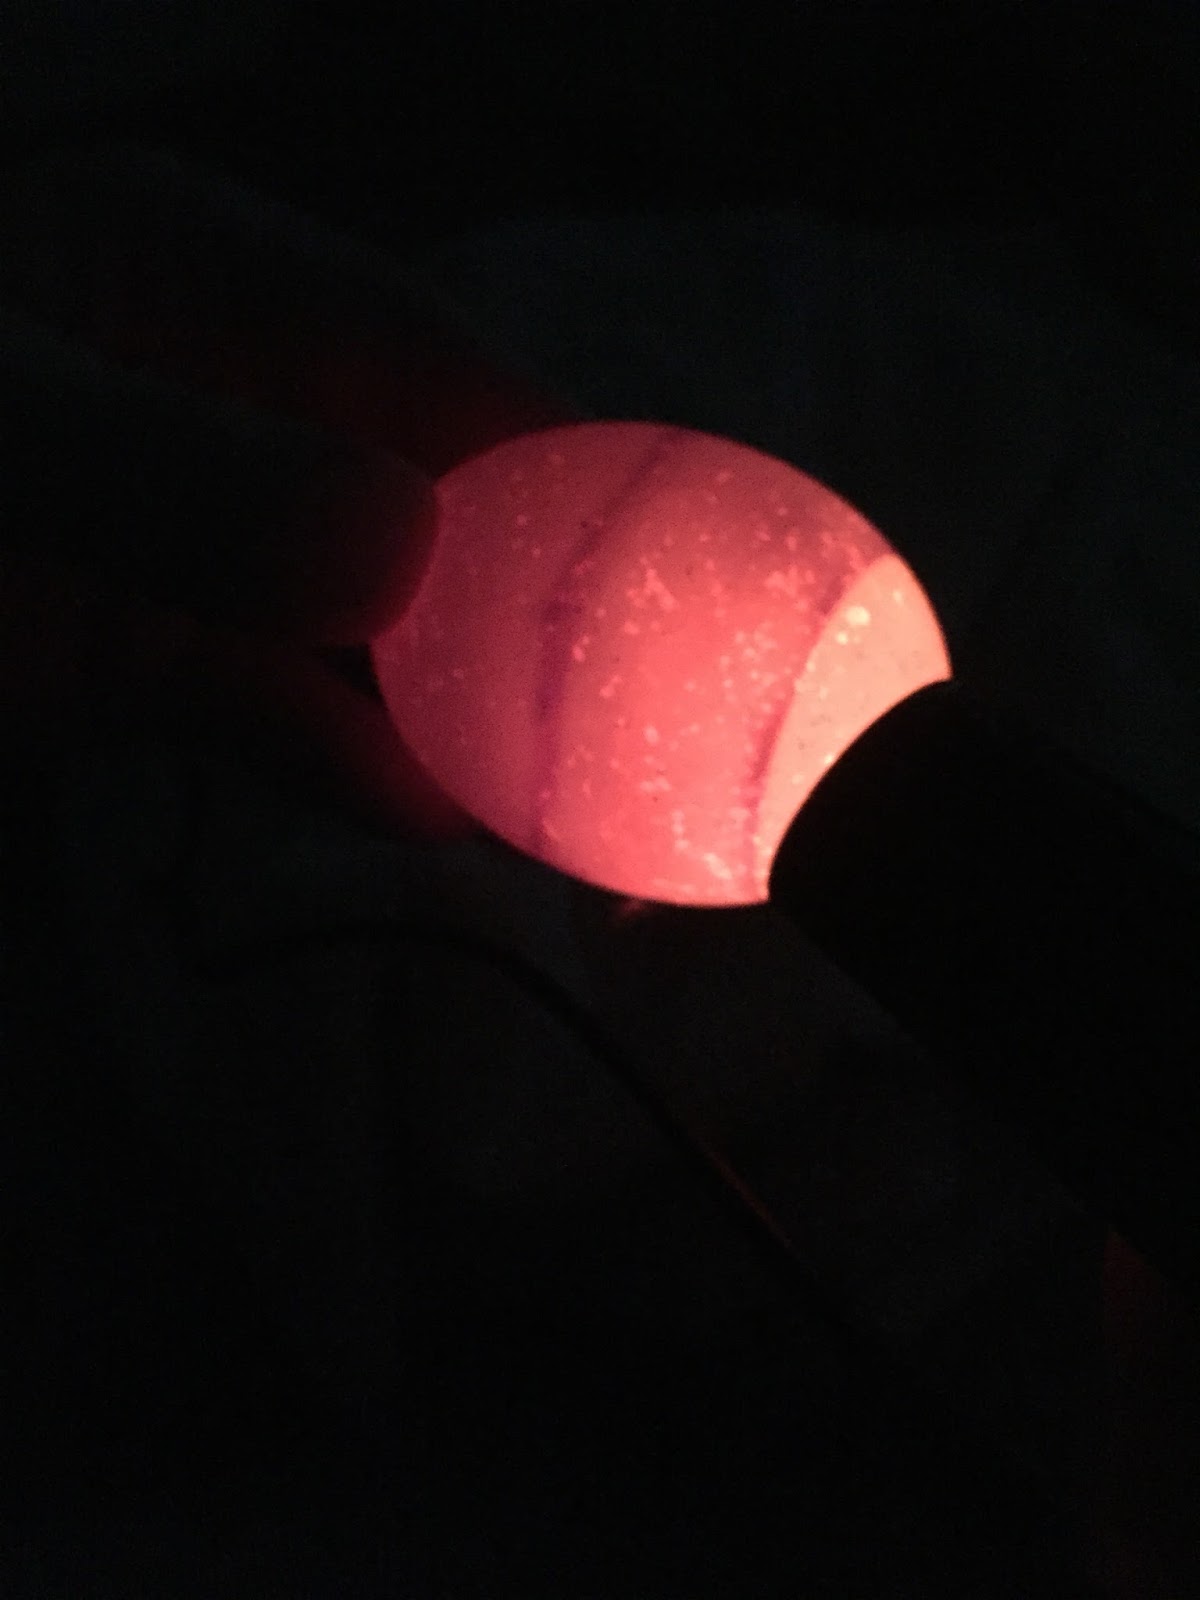
This embryo stopped developing at some point in the last two weeks. In this picture, there is a clear bloodline indicating that the development of the embryo has stopped for some reason.
Yolkers
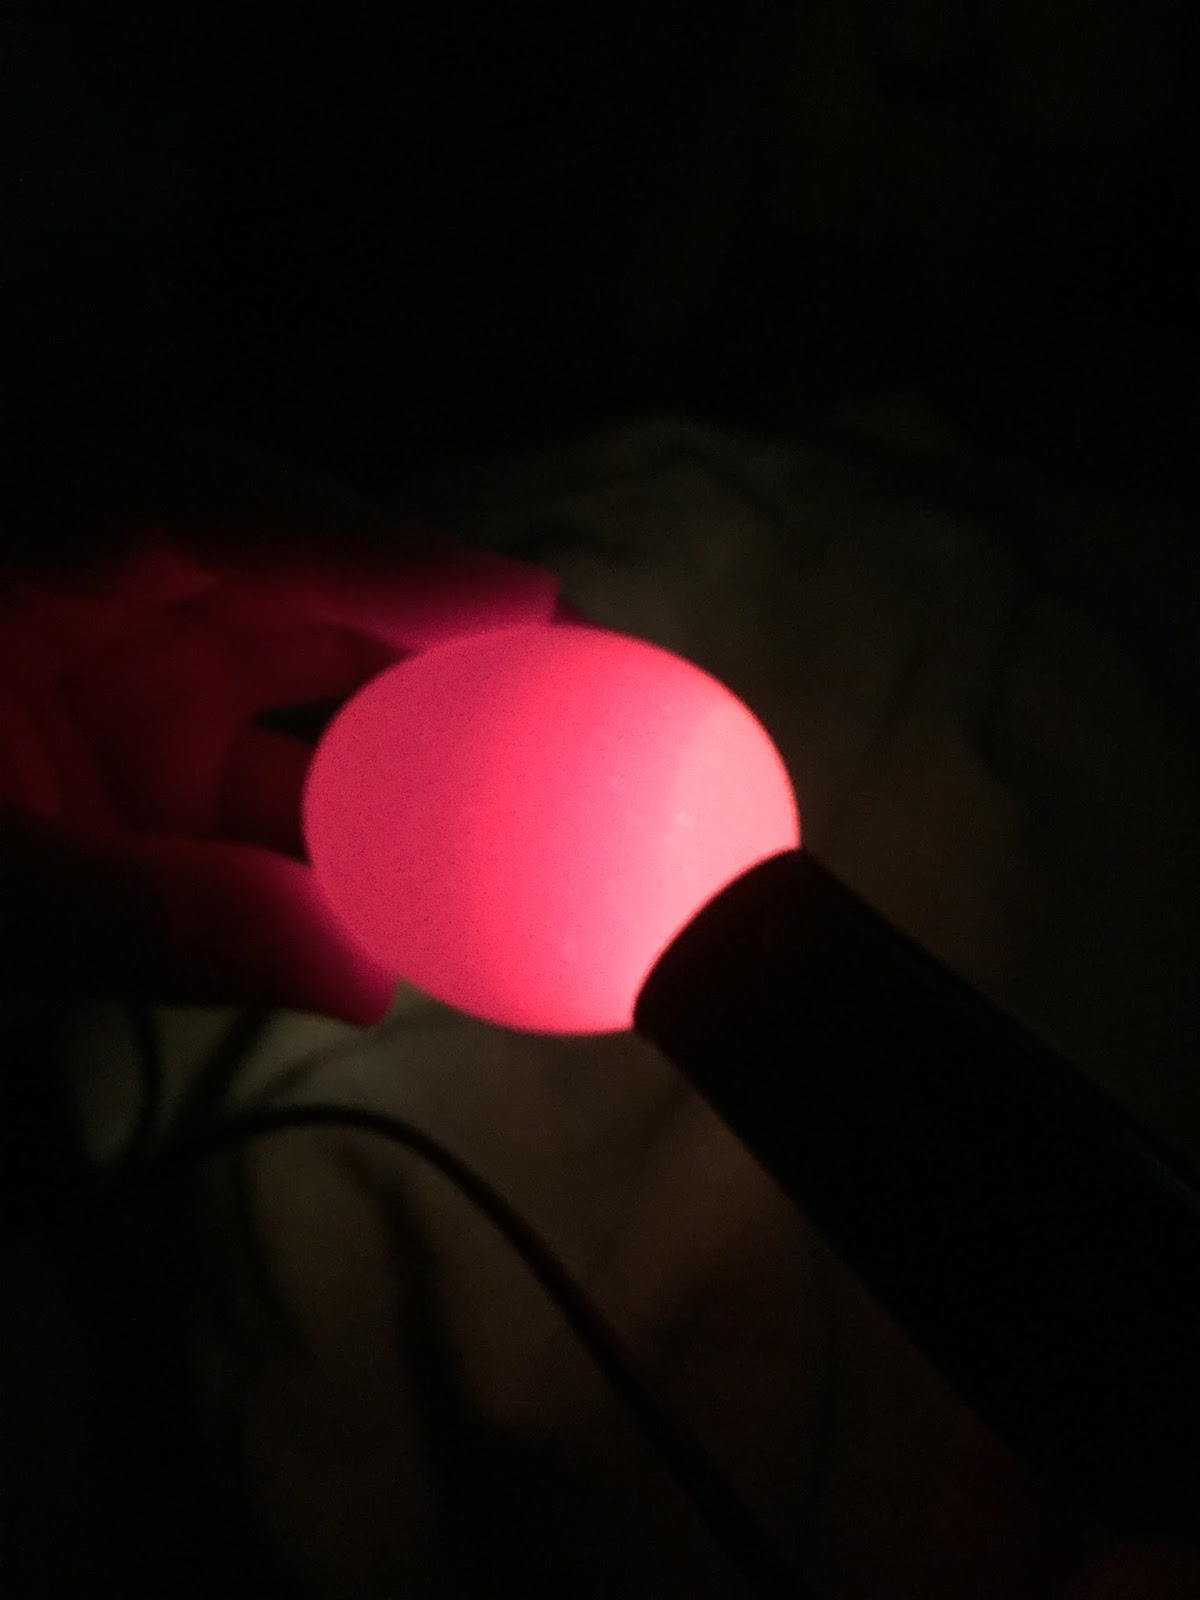
This egg was never fertilized. There is no embryo to develop. The eggs we buy at the grocery store are usually unfertilized eggs.
We want to take the quitters and yolkers out of the incubator at this stage because we don't want the eggs to crack/break in the incubator or get in the way of the hatching chicks next week.